Introduction
Gone are the days of expensive salon trips and complicated waxing procedures! With a simple sugar wax recipe, you can achieve smooth, hair-free skin from the comfort of your home. This natural method, often called sugaring, has been used for centuries and is gaining popularity for its affordability, eco-friendliness, and gentle touch on the skin.
In this article, we’ll explore everything you need to know about sugar waxing. From understanding what it is and its benefits to learning how to make your own sugar wax and applying it like a pro, we’ve got you covered. We’ll also tackle common issues and answer frequently asked questions to make your sugaring journey smooth—literally!

What Is Sugar Wax?
The History and Origin of Sugaring
Sugaring isn’t a new beauty trend—it’s ancient! Originating in the Middle East, sugaring was first practiced in Egypt as a way to remove hair naturally and painlessly. Cleopatra herself was said to have used a sugar wax recipe, proving that this method has stood the test of time.
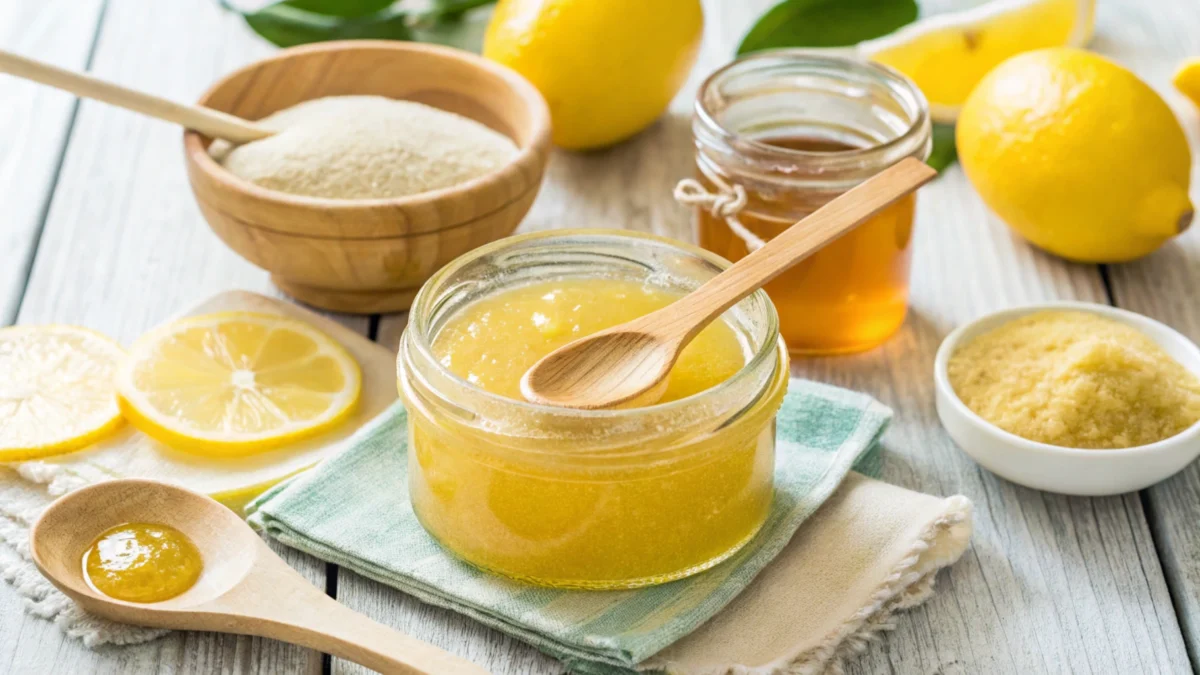
This age-old technique uses a simple mix of natural ingredients—sugar, water, and lemon juice. The result? A sticky, caramel-like substance that effectively removes hair without harsh chemicals or synthetic additives.
How Sugar Wax Works for Hair Removal
Unlike traditional waxing, sugar wax adheres to the hair, not the skin. This means it pulls out hair from the root without causing as much discomfort or irritation. Plus, it’s applied at room temperature or slightly warm, so there’s no risk of burns.
Here’s why it’s effective:
- The sugar paste grips even the shortest hairs, leaving your skin silky smooth.
- It exfoliates as it removes hair, getting rid of dead skin cells in the process.
- Regular use can weaken hair follicles, resulting in finer regrowth over time.
Sugar Wax vs. Traditional Waxing: Key Differences
If you’re wondering why sugaring is so popular, the differences between sugar wax and regular wax might surprise you:
- Ingredients: Sugar wax uses just three natural ingredients, while traditional wax often contains synthetic resins and chemicals.
- Pain level: Sugaring is typically less painful since it doesn’t stick to the skin.
- Cleanup: Sugar wax is water-soluble, making cleanup a breeze—just rinse with warm water.
In short, sugaring is a natural, gentle, and effective way to remove unwanted hair. Now that we’ve laid the foundation, let’s dive into why you should choose sugar waxing in the first place.
Benefits of Using Sugar Wax
Why Choose Sugar Wax for Hair Removal?
When it comes to hair removal, sugar waxing has a lot going for it. From its natural ingredients to its eco-friendly appeal, there are plenty of reasons to swap traditional waxing for a sugar wax recipe.
- Natural and gentle on skin: Sugar wax contains only sugar, lemon juice, and water, making it safe for all skin types—even sensitive ones. No harsh chemicals, no synthetic additives, just pure simplicity.
- Eco-friendly and sustainable: Unlike traditional wax, which often comes with plastic strips and synthetic components, sugar wax is biodegradable and requires minimal tools. You’re caring for your skin and the planet.
- Affordable and accessible: The ingredients are kitchen staples, making sugar waxing a budget-friendly beauty solution. Plus, you can whip up a batch anytime at home.
Skin Health Benefits of Sugaring
Beyond hair removal, sugar waxing offers additional perks for your skin. It’s like a mini spa treatment with every session!
- Exfoliation and smoother skin: As the sugar wax removes hair, it also takes away dead skin cells, leaving your skin fresh, smooth, and glowing. Regular exfoliation helps prevent ingrown hairs, too.
- Reduced irritation: Unlike hot wax, which can cause burns or redness, sugar wax is applied at room temperature, minimizing skin irritation. The natural formula soothes rather than aggravates.
- Long-term benefits: Over time, sugar waxing can weaken hair follicles. This leads to slower hair growth and finer strands, making maintenance easier and less frequent.
Why Sugar Waxing Stands Out
Here’s the cherry on top: sugar waxing isn’t just a beauty hack; it’s a self-care ritual. The gentle nature of sugaring lets you enjoy the process without worrying about discomfort or damage. Plus, the results speak for themselves—silky smooth skin that lasts longer than shaving.
If you’re ready to experience these benefits firsthand, it’s time to roll up your sleeves and get cooking. In the next section, we’ll walk you through a fail-proof DIY sugar wax recipe and show you how to make it step by step.
Looking for another simple homemade recipe? Check out this guide to making a nutritious chicken bone broth for your wellness journey!
DIY Sugar Wax Recipe and Preparation Guide
Ingredients You’ll Need
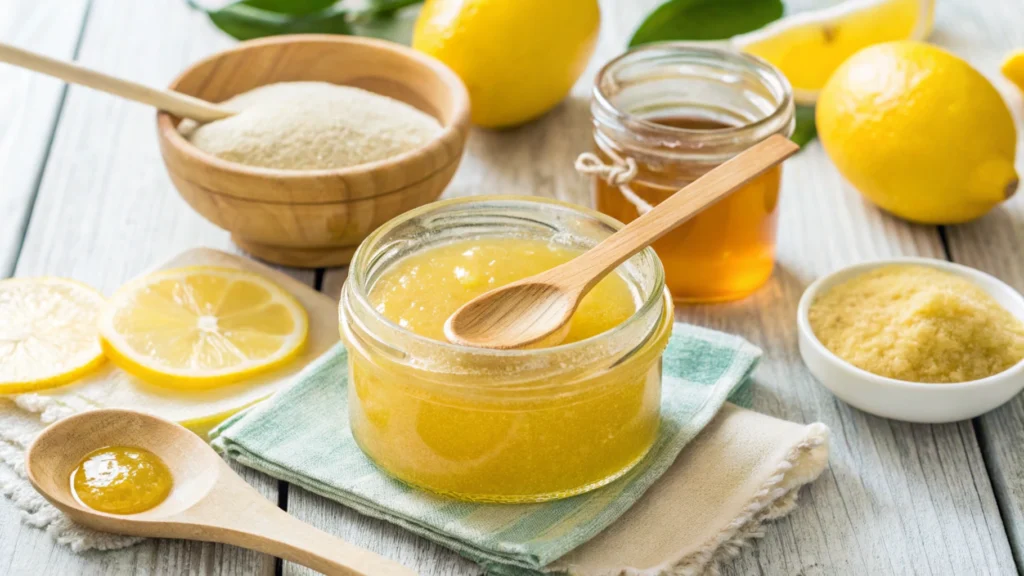
Creating your own sugar wax at home is surprisingly easy. You only need a few simple ingredients—most of which are probably already in your kitchen!
- Sugar (2 cups): White granulated sugar works best, as it melts evenly and provides the right consistency.
- Lemon juice (1/4 cup): This acts as a natural preservative and helps achieve the sticky texture. Freshly squeezed lemon juice is ideal, but bottled works too.
- Water (1/4 cup): Plain water keeps the mixture from burning and helps blend the ingredients.
Optional variations:
- Add a tablespoon of honey for extra hydration.
- A few drops of your favorite essential oil can give the wax a pleasant scent and calming properties.
Step-by-Step Guide to Making Sugar Wax at Home

Ready to get started? Follow these simple steps to make the perfect sugar wax recipe.
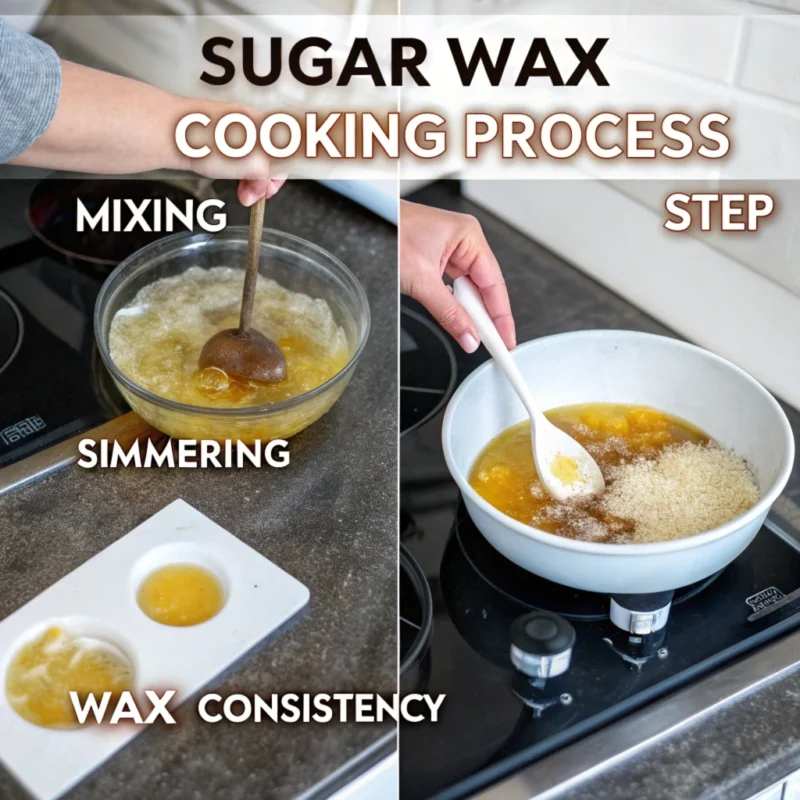
- Combine ingredients: In a saucepan, mix sugar, lemon juice, and water. Stir well to dissolve the sugar.
- Heat the mixture: Place the saucepan on medium heat and stir constantly. The sugar will begin to melt and turn golden.
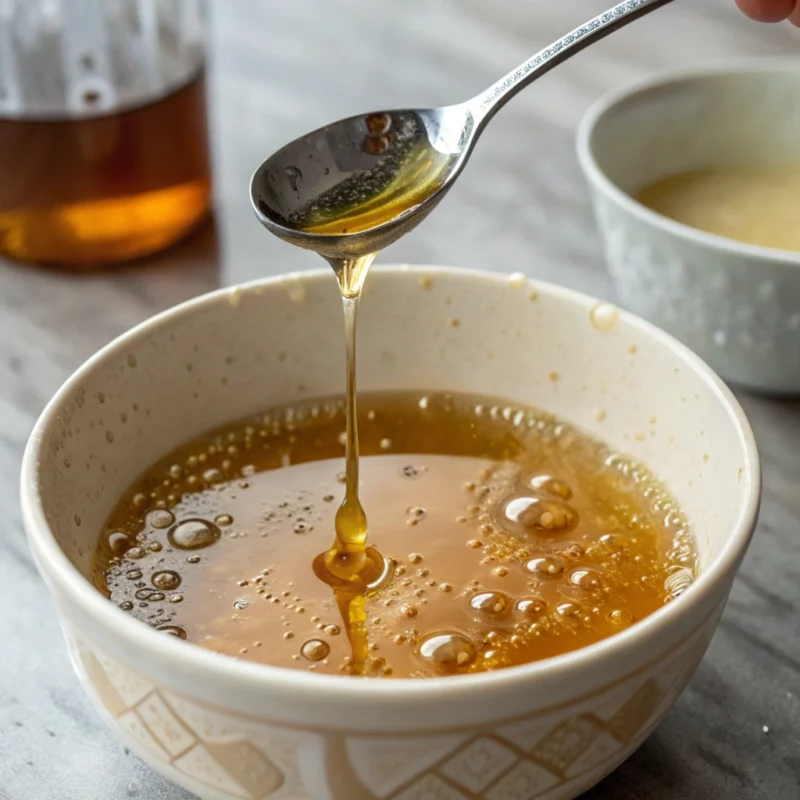
- Monitor the temperature: Use a candy thermometer if possible. The ideal temperature is around 240°F (soft-ball stage). Without a thermometer, look for a smooth, caramel-like consistency.
- Test the wax: Drop a small amount into cold water. If it forms a soft, pliable ball, it’s ready. If it’s too hard or runny, adjust cooking time.
- Cool the wax: Remove the saucepan from heat and let the wax cool slightly. It should be warm, not hot, before applying.
Storage and Reheating Tips
- Storing your sugar wax: Pour the cooled wax into an airtight container. It can be stored at room temperature for a few weeks or in the fridge for longer.
- Reheating instructions: To reuse, microwave the wax in short bursts or warm it in a double boiler. Be careful not to overheat—it should remain warm and pliable.
Pro Tips for Success
- Don’t rush! Stirring constantly prevents burning and ensures an even texture.
- If your wax turns too hard, add a tablespoon of water and reheat gently.
- Adjust the recipe proportions based on how much wax you need.
Congratulations—you’ve just made your first batch of sugar wax! In the next section, we’ll show you how to apply it effectively for smooth, long-lasting results.
How to Apply Sugar Wax Effectively
Preparation Before Sugaring
To get the best results from your sugar wax recipe, proper skin preparation is crucial. A little effort before you start can make a big difference in achieving smooth, irritation-free results.
- Exfoliate beforehand: Gently exfoliate the skin 24 hours before sugaring to remove dead skin cells. This prevents ingrown hairs and ensures the wax adheres better.
- Clean your skin: Wash the area with warm water and a mild cleanser to remove oil, dirt, or sweat. Pat dry completely, as sugar wax works best on clean, dry skin.
- Avoid lotions or oils: These can create a barrier and prevent the wax from gripping the hair.
Pro tip: Trim longer hairs to about 1/4 inch for easier removal.
Application Techniques
Once your skin is prepped, it’s time to put your sugar wax recipe to work! Follow these simple steps for a smooth application.
- Warm the wax: If your sugar wax has cooled, gently reheat it to a warm (not hot) consistency. Test a small amount on your wrist to ensure it’s comfortable.
- Apply the wax: Using clean hands or a spatula, spread a small amount of wax against the direction of hair growth. Press firmly to ensure good adhesion.
- Remove the wax: Quickly pull the wax off in the direction of hair growth. This minimizes discomfort and reduces the risk of breaking hairs.
- Repeat as needed: Work in small sections, and don’t reuse the same piece of wax multiple times on different areas.
Cleanup made easy: Sugar wax is water-soluble, so any residue can be rinsed off with warm water.
Suggestion for Further Reading
While mastering your sugar wax recipe, why not explore some kitchen creativity with this guide to making moist muffins? It’s the perfect way to pair beauty DIYs with delicious treats!
By preparing your skin and mastering these simple application techniques, you can achieve salon-quality results at home. Whether it’s your first time trying a sugar wax recipe or you’re a seasoned pro, these steps will make the process smoother and more effective. Up next, we’ll tackle common issues and how to fix them!
Common Issues and How to Fix Them
Why Sugar Wax Consistency Matters
Achieving the perfect consistency is key to a successful sugar wax recipe. If your wax is too hard or too runny, don’t worry—these are common issues that are easy to fix.
- Too hard: If your wax hardens and becomes difficult to apply, add a tablespoon of water and gently reheat it on low heat. Stir until it softens to a pliable consistency.
- Too runny: If your wax is too liquidy and doesn’t hold its shape, return it to the stove and simmer for a few extra minutes. Keep stirring until it thickens to a honey-like texture.
- Crystallized sugar: If the mixture turns grainy, you may have cooked it too quickly. Start fresh, ensuring you stir constantly over medium heat for even caramelization.
Tip: Use a candy thermometer to monitor the temperature and avoid overcooking or undercooking the mixture.
Troubleshooting Application Problems
Sometimes, even perfectly cooked sugar wax can pose challenges during application. Here’s how to handle them:
- Wax sticking to the skin too much: If the wax feels overly sticky, let it cool for a few more minutes before applying. Warm wax is ideal, but hot wax can be messy and ineffective.
- Irritation or redness: Apply a cool compress or aloe vera gel to soothe the skin. Avoid waxing the same area repeatedly to minimize irritation.
- Hairs not removing completely: Ensure the hair is at least 1/4 inch long and that you’re pulling the wax in the correct direction (with the growth).
Learning to troubleshoot sugar waxing issues takes practice, but the results are worth it! With these fixes, your DIY waxing sessions will become smoother and more effective. In the next section, we’ll address frequently asked questions to help you master the art of sugaring. Keep reading!
FAQs About Sugar Wax Recipe
How Do You Make Homemade Sugar Wax?
Making a sugar wax recipe at home is simple and cost-effective. All you need are three basic ingredients: sugar, lemon juice, and water. Combine them in a saucepan, cook to the right consistency, and you’re ready to go! Follow the detailed steps in Part 3 of this article to ensure a fail-proof batch every time.
What Are the Ingredients of Sugar Paste Wax?
The core ingredients are:
- Sugar: The base ingredient that gives the wax its sticky, hair-gripping properties.
- Lemon juice: Adds acidity, helping to stabilize the mixture and prevent crystallization.
- Water: Balances the consistency and prevents burning during cooking.
Optional additions like honey or essential oils can enhance the benefits of your wax but aren’t necessary for effectiveness.
Do You Need Lemon Juice for Sugar Wax?
While lemon juice is traditionally used in a sugar wax recipe, it’s not a strict requirement. Alternatives like apple cider vinegar or lime juice can work as substitutes. However, they may slightly alter the consistency or scent, so experiment with small batches first.
How Do You Make 3-Ingredient Sugar Wax?
This question often overlaps with the basics of making sugar wax. Simply combine sugar, lemon juice, and water in the right proportions (e.g., 2 cups of sugar, 1/4 cup of lemon juice, and 1/4 cup of water). Cook the mixture until it reaches a caramel-like consistency, and let it cool before using.
Whether you’re wondering about ingredients, alternatives, or specific techniques, these FAQs cover everything you need to know about sugar waxing. Armed with this knowledge, you’re ready to create and use your own sugar wax recipe like a pro. For even more DIY tips and tricks, explore similar articles and keep your beauty routine natural and affordable!
Conclusion: Embrace the Simplicity of a Sugar Wax Recipe
Sugar waxing is a game-changer for anyone seeking a natural, cost-effective, and gentle way to remove unwanted hair. From its ancient roots in Middle Eastern beauty traditions to its modern resurgence as a DIY solution, this technique has proven to be as effective as it is versatile.
With just three simple ingredients—sugar, lemon juice, and water—you can create your own sugar wax at home. Plus, the added benefits of exfoliation, reduced irritation, and eco-friendliness make sugaring an excellent alternative to traditional waxing. Whether you’re tackling sensitive skin, troubleshooting consistency issues, or seeking a beginner-friendly solution, this guide has you covered.

Final Tips for Sugaring Success
- Take your time mastering the consistency of your wax.
- Always prep your skin for the best results.
- Start with small areas until you feel confident with the technique.
If you’re looking to expand your DIY self-care arsenal, feel free to explore other natural beauty recipes and guides. For example, check out this guide to making moist muffins? for inspiration that bridges the gap between wellness and practicality.
Thank you for joining this journey to mastering the sugar wax recipe! Remember, practice makes perfect, and every attempt brings you closer to salon-quality results at home. Here’s to smooth, glowing skin and the confidence that comes with it!


1 thought on “How to Make a Perfect Sugar Wax Recipe at Home”